WhatsApp Business App Quick Start (WhatsApp Coexistence)
📌📌📌 Before onboarding a number to WhatsApp Coexistence Mode, make sure: - The phone number has been actively using the WhatsApp Business App (receiving and sending messages) for…
Requirements
📌📌📌 Before onboarding a number to WhatsApp Coexistence Mode, make sure:
- The phone number has been actively using the WhatsApp Business App (receiving and sending messages) for at least 7 consecutive days before registration. If the number was inactive for more than 7 consecutive days before registration, Meta will reject the registration. For example:
-
The latest version of the WhatsApp Business App is installed on a smartphone with a camera (QR code required).
-
The number is not from a restricted region.
You can create a new Meta Business Account or connect to an existing one during the Embedded Signup process.
Please choose your Business Manager carefully, since it can't be changed after the number is registered. ** It is mandatory that the Business Manager is owned by the Business who is sending messages. Adding users who do not belong to this company can cause your Business Manager to be blocked.**
You must add your information in the Business Info section of Business Manager Settings. You need to include a legal name, an address, a website, and the business phone number you intend to use for messaging.
Step-by-Step Procedure
Connect the WhatsApp Business App
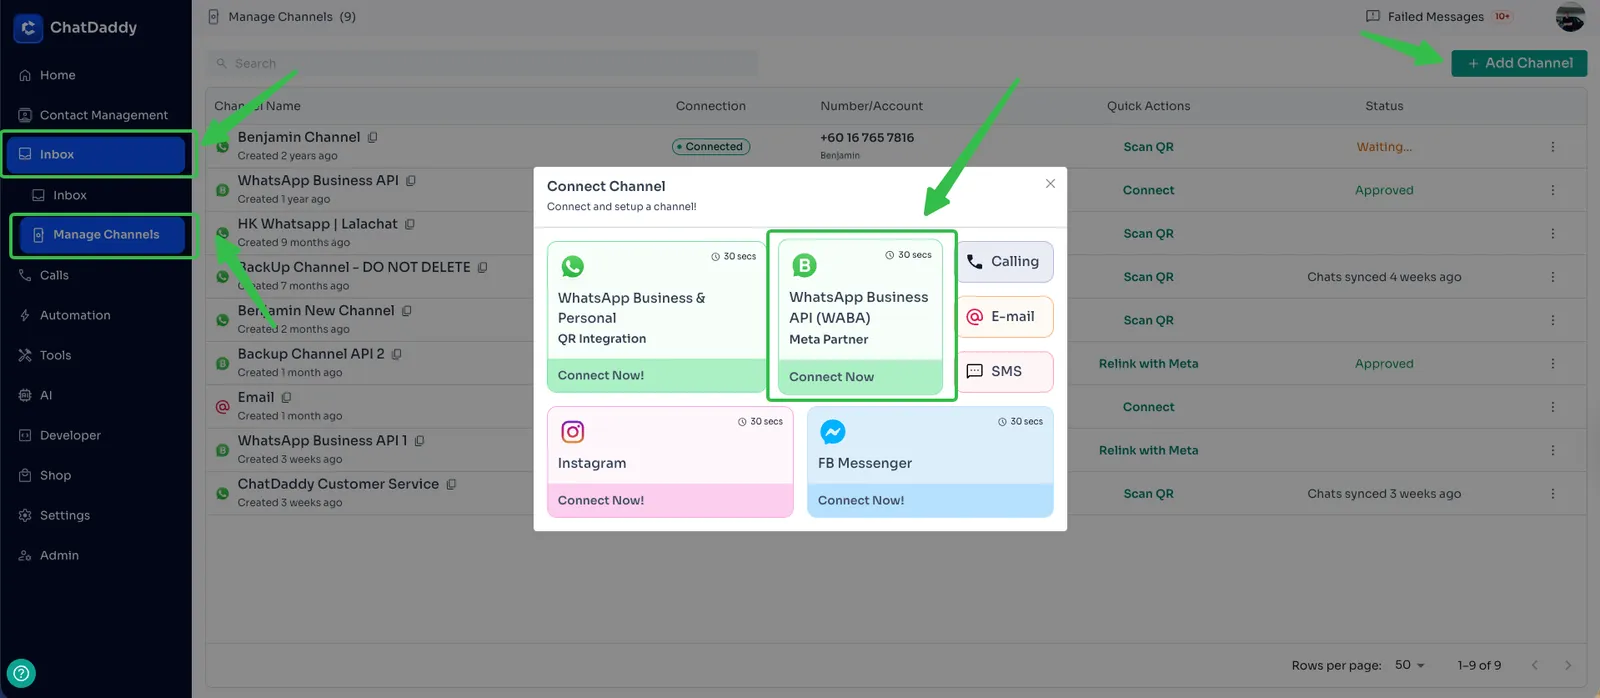
**Step 1: Login your account in 🔗 **https://app.chatdaddy.tech/ and **Go to Inbox > Manage Channel ** and click on create WABA Channel.
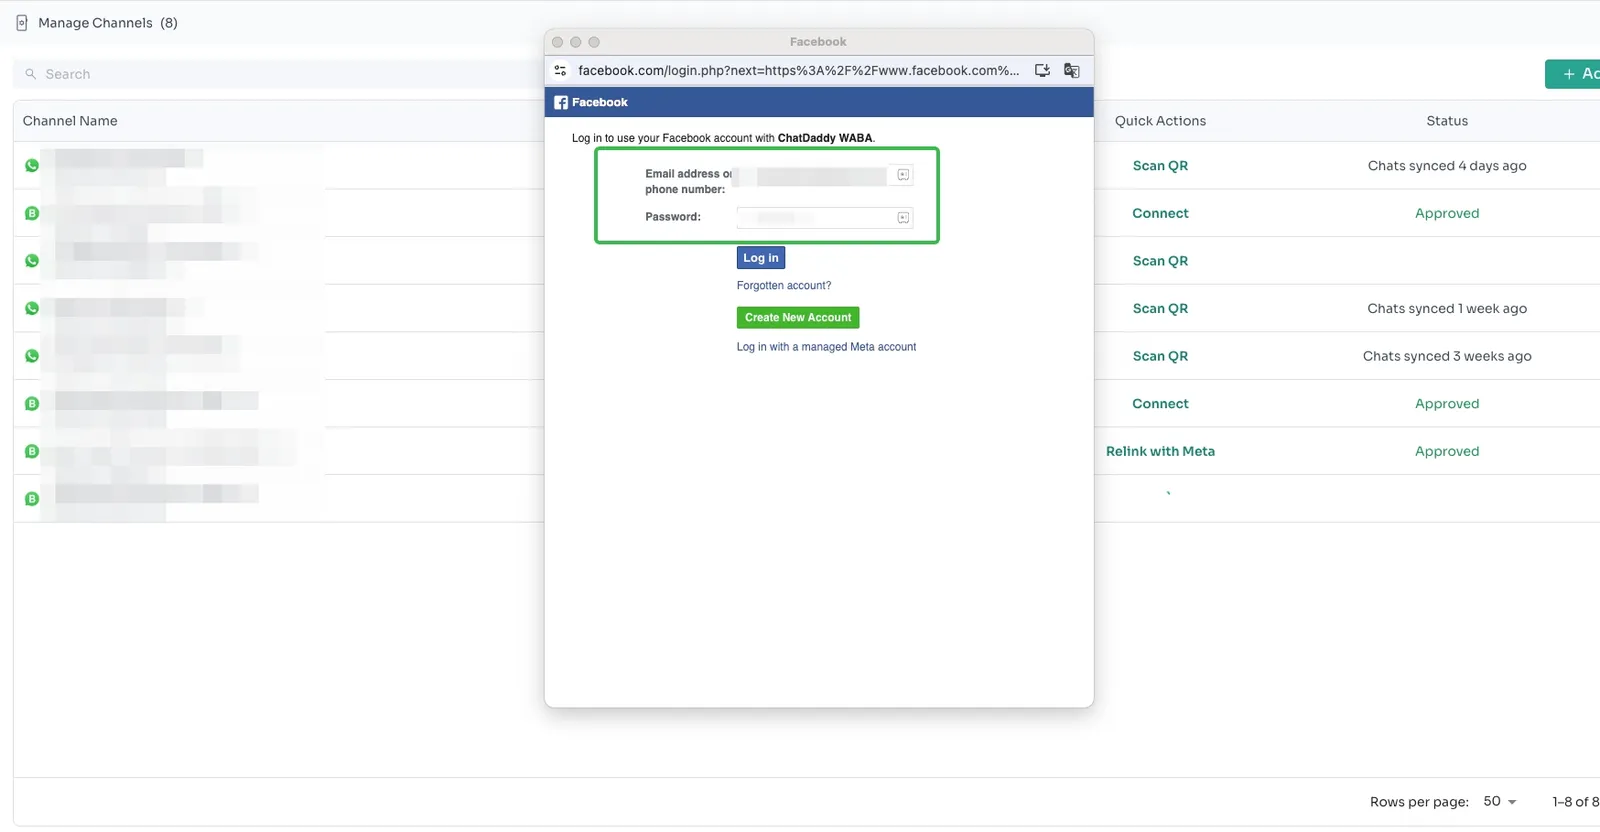
Step 2: Log in using your email address / phone number and password, then click “Continue as”.
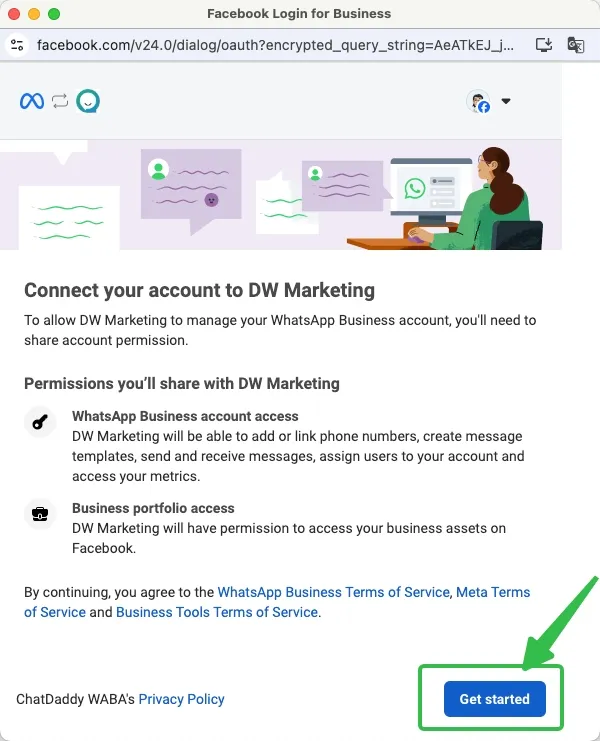
Step 3: Click Get Started.
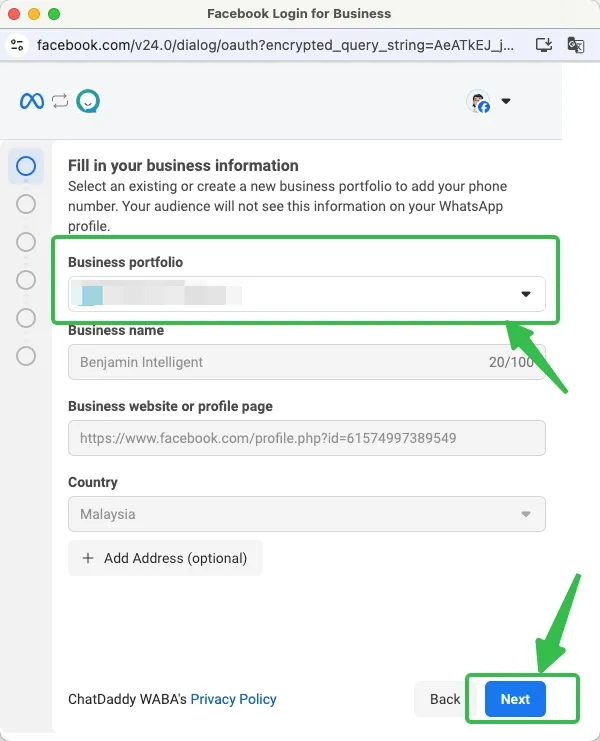
Step 4: Select your Business that you want to connect to your WhatsApp number, then click Next.
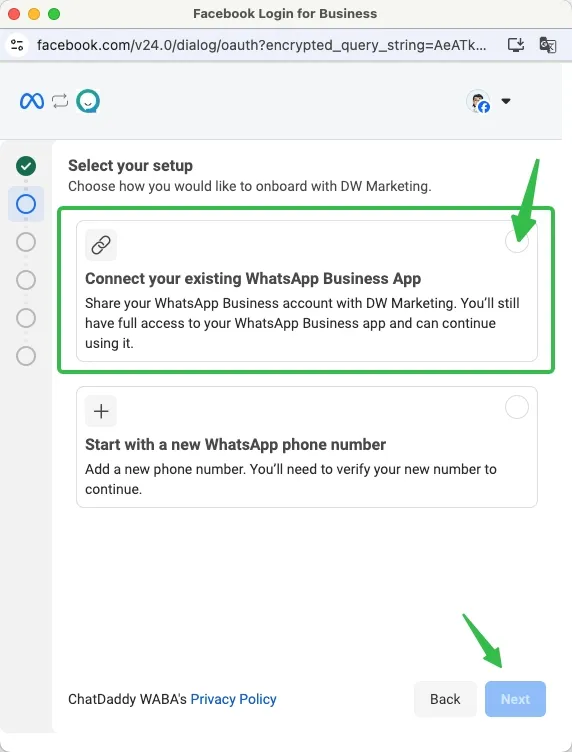
**Step 5: ** Connect your existing WhatsApp Business App.
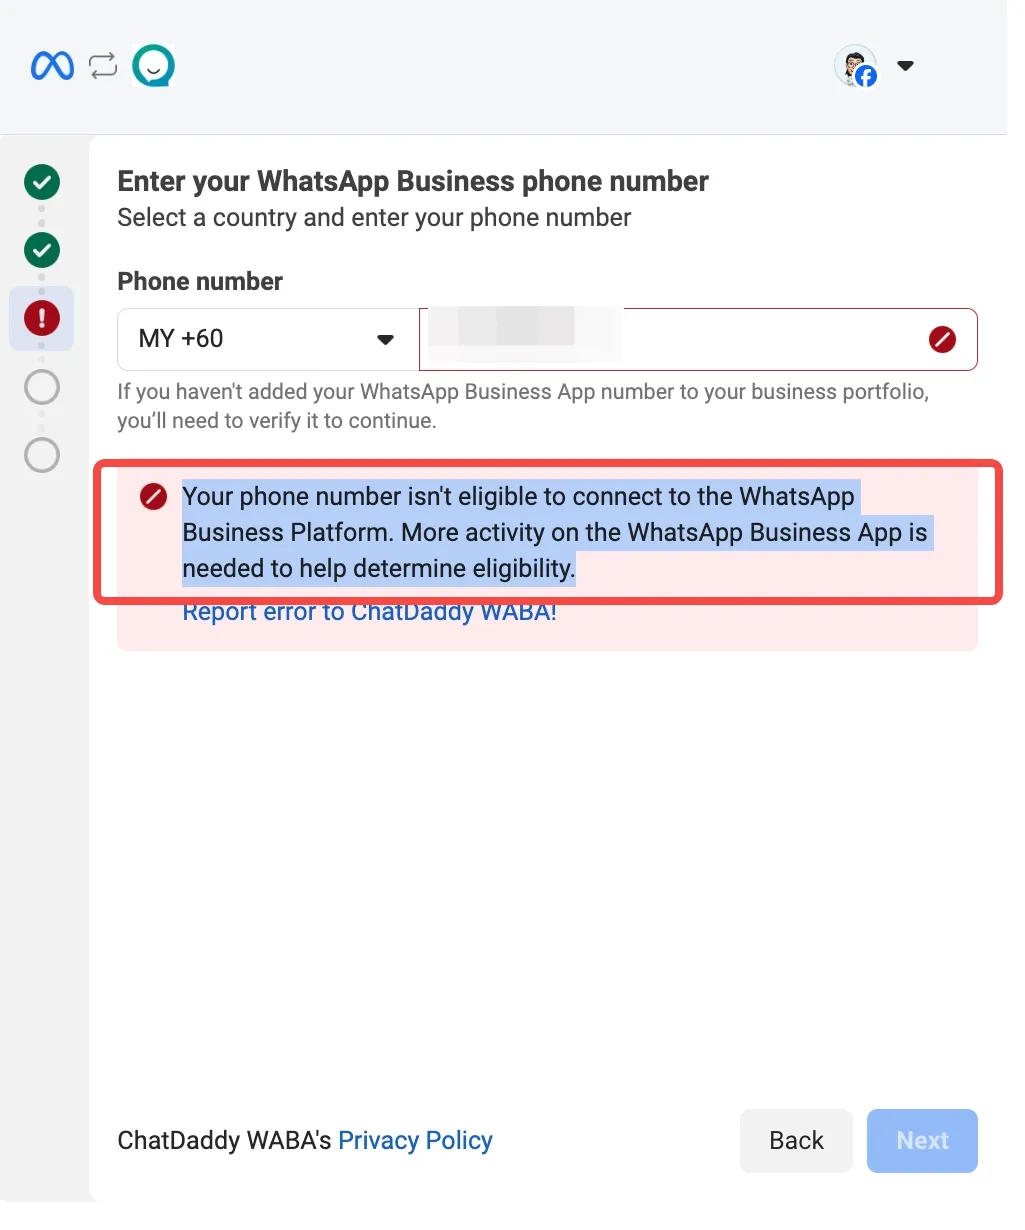
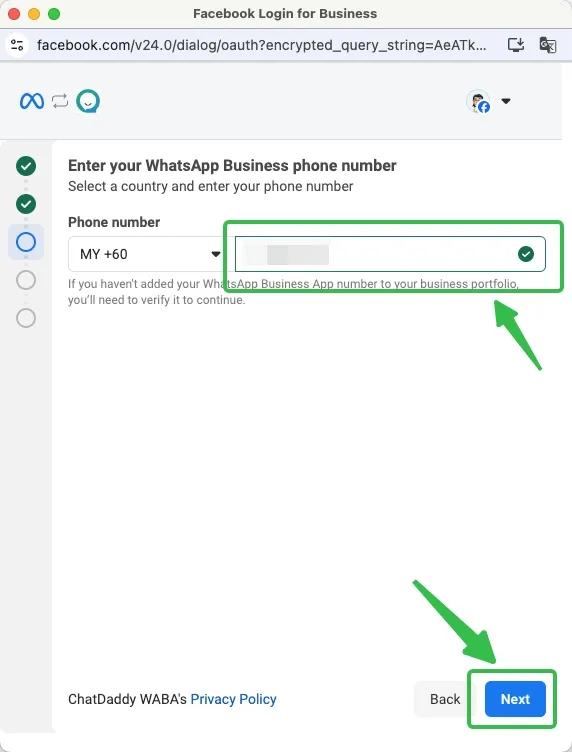
**Step 6: **Enter your phone number again and complete the verification process. ✅
**Step 7: **Open the WhatsApp Business App on your phone.
**Step 8 : **Follow the in-app instructions:
- A new WhatsApp message will prompt you to scan a QR code.
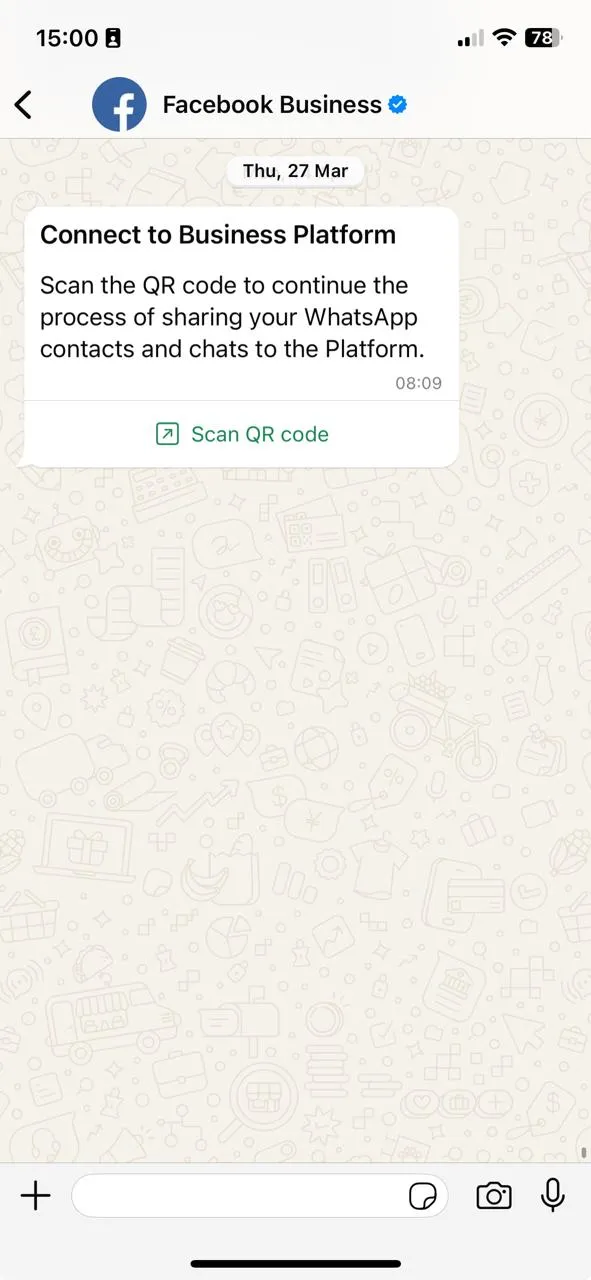
- Tap the message and scan the QR displayed on screen.
Confirm Migration and History Sync
Tapping the message button will:
-
Inform the business that chat history can be migrated to ChatDaddy.
-
Enable history and contact sync (optional).
Tapping “Scan QR code” will trigger:
-
The chat history sharing with ChatDaddy.
-
The connection to the WhatsApp Business Platform.
Finish the Embedded Signup
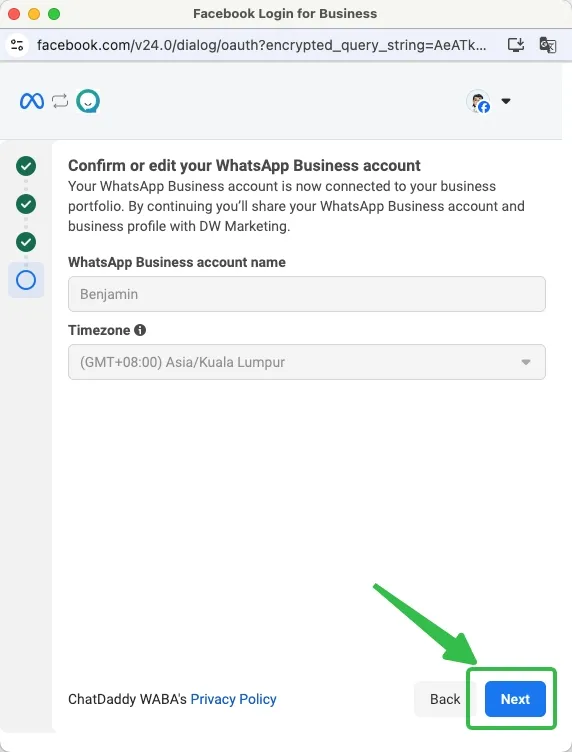
Confirm or edit your WhatsApp Business Account information.
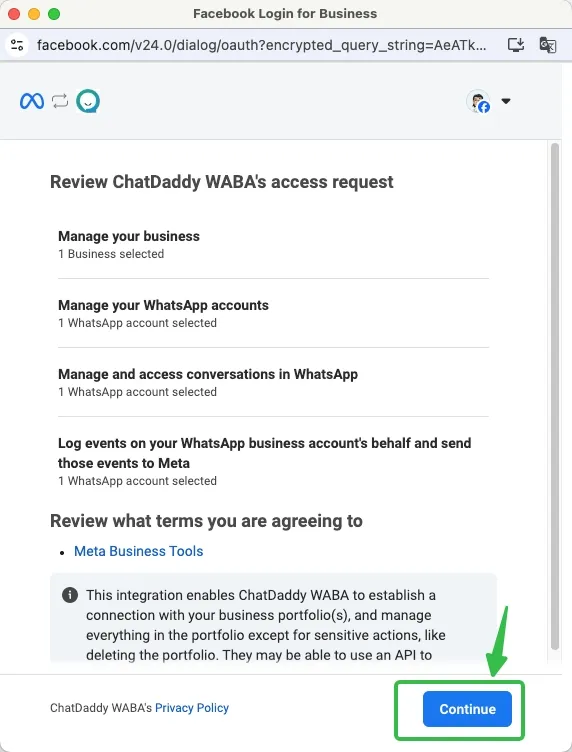
Review ChatDaddy WABA’s access request and click Continue** **
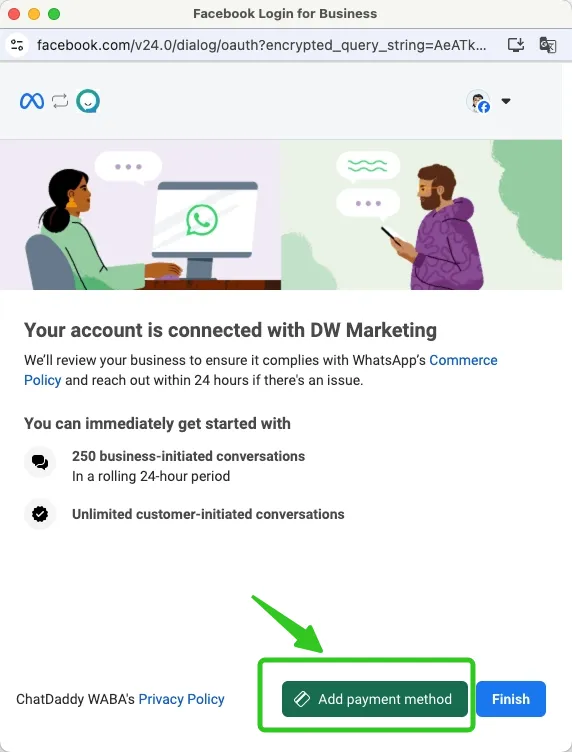
After this,**click “Add Payment Method” **and refer to this guide to set up your payment method on Meta: 👉 How to Set Up Payments on Facebook Business Manager for ChatDaddy WABA Account
** Once completed:**
-
ChatDaddy will create the integration.
-
The number will be ready for use on the WhatsApp Business Platform (Cloud API).
-
Contacts and history sync will begin, if chosen.
-
Webhooks will be logged and available.
💡 Note: Onboarding and synchronization can take several minutes, depending on a number of factors such as the size of the business's messaging history, internet speed, etc. If you encounter any issues, please reach out to our Support Team.