Connecting ChatDaddy to Paperform
1. Access ChatDaddy's Integration Setup: - In Automation > Shop Notification > Create > Select "Paperform” 1. Input the “TimeKey”: - In the ChatDaddy setup screen for the Paperform…
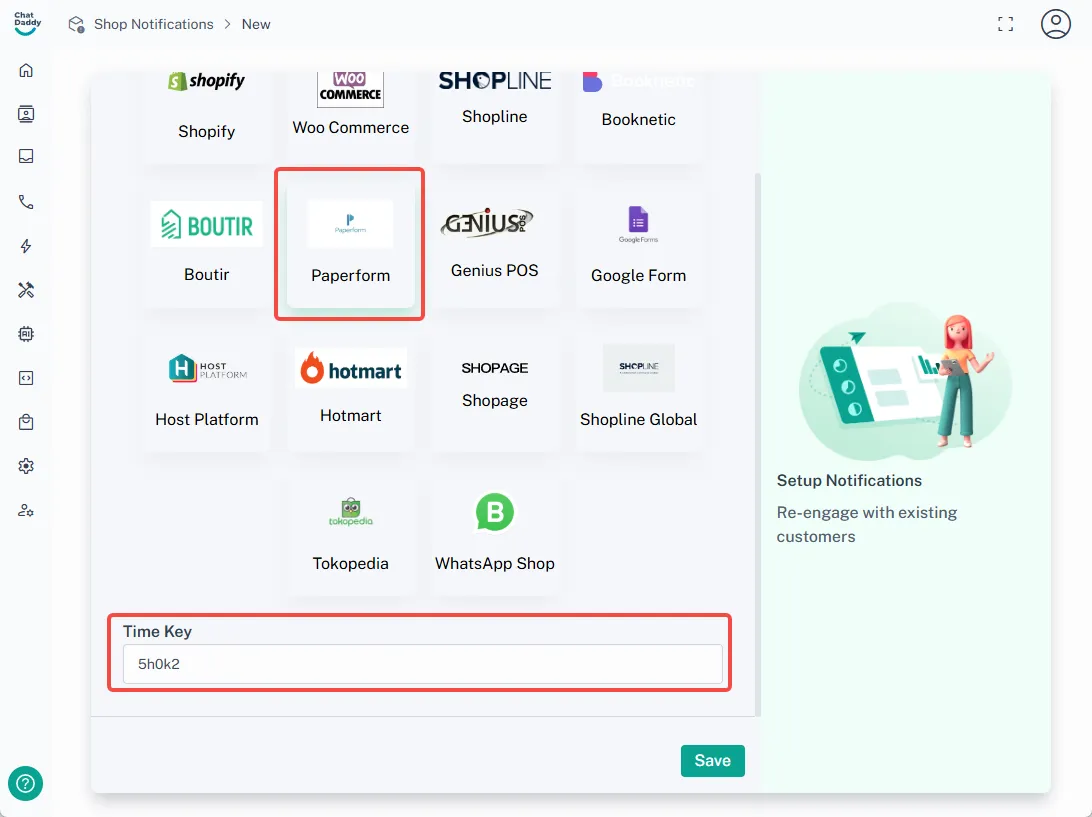
- Access ChatDaddy's Integration Setup:
- In Automation > Shop Notification > **Create **> Select "Paperform”
- Input the “TimeKey”:
-
In the ChatDaddy setup screen for the Paperform integration, you will see a field labeled “TimeKey.”
-
Paste the copied appointment question ID (from your Paperform) into this field.
-
Then click “Save”
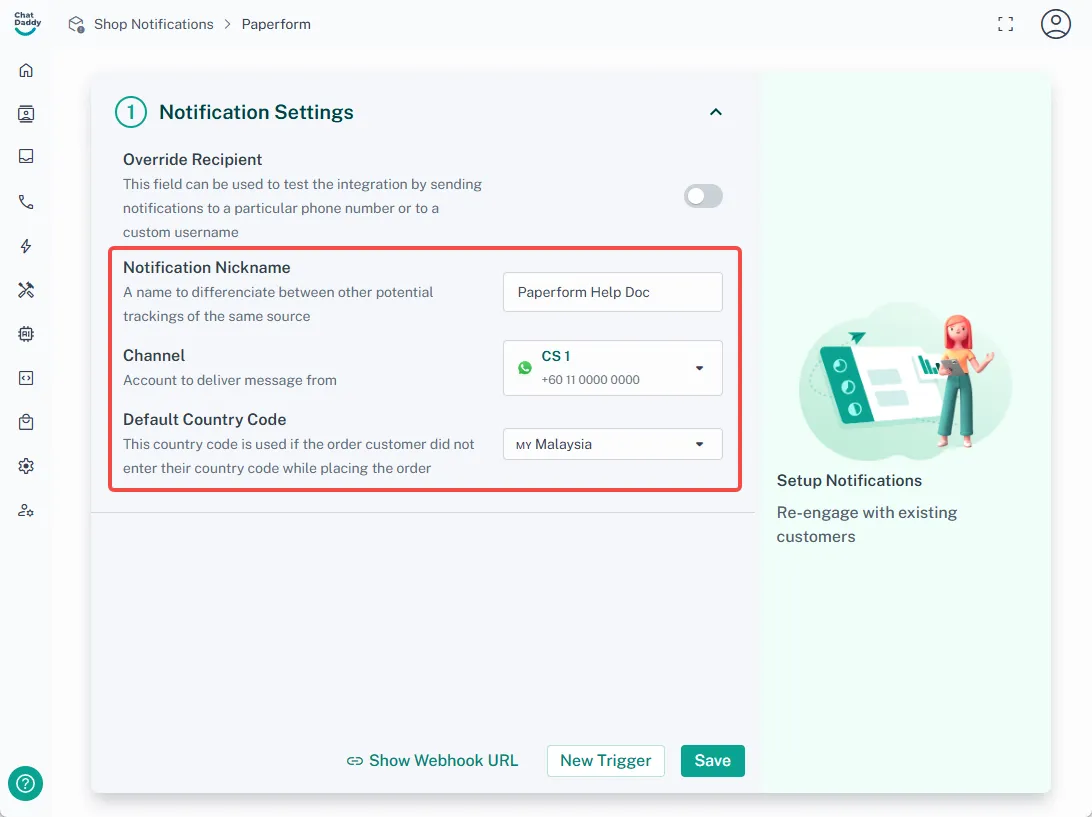
- In the Notification settings:
-
Set a name for your integration in the "Notification Nickname"
-
Select your preferred channel from the dropdown menu in "Channel"
-
Set the default country code
- Set up the trigger:
-
Click "New Trigger" > Add "New Custom Trigger"
-
Select the message flow that you set up earlier
-
Click Add Condition > select "Event"
-
Choose "confirm" as the value
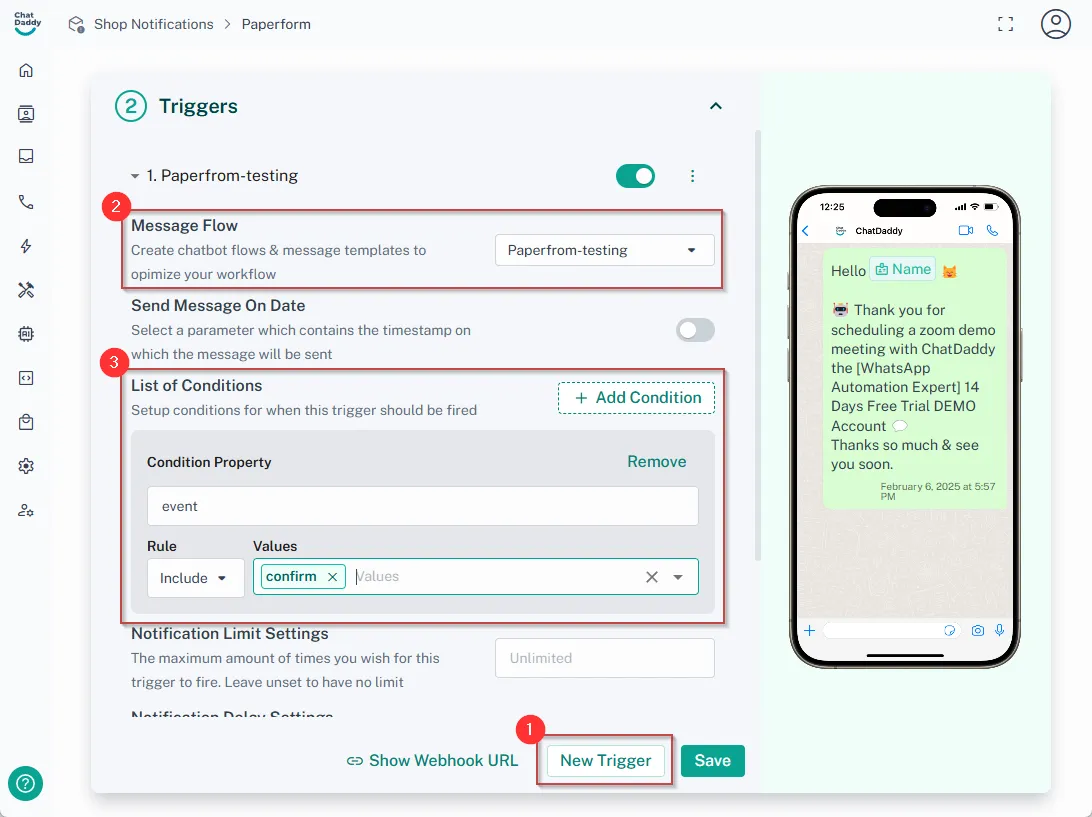
📌 Note: confirm:send notification once submitted
h1 reminder: send notification 1h before the appointment time
h2 reminder:send notification 2h before the appointment time
h4 reminder:send notification 2h before the appointment time
d1 reminder:send notification 1d before the appointment time
- Copy the Webhook URL:
-
ChatDaddy will generate a webhook URL.
-
Copy this webhook link.
