How to Create/Verify/Connect your Whatsapp Business API to ChatDaddy?
If not, then please refer to the previous help doc. Please note, by applying for Whatsapp Business API with Chatdaddy, you acknowledge and agree to the conversation charges. (Merch…
❗ Note: Before you can Create/Verify/Connect your Whatsapp Business API to ChatDaddy, please make sure you have a Meta Business Account with a Verified Business on Meta.
If not, then please refer to the previous help doc.
Please note, by applying for Whatsapp Business API with Chatdaddy, you acknowledge and agree to the conversation charges. (Merchants using the WhatsApp Business platform are charged per conversation, which includes all messages delivered within a 24-hour conversation period.) For your reference, please find the conversation rate table here. Before using the service, please review the rates carefully and let us know if you have any questions or concerns.
Steps
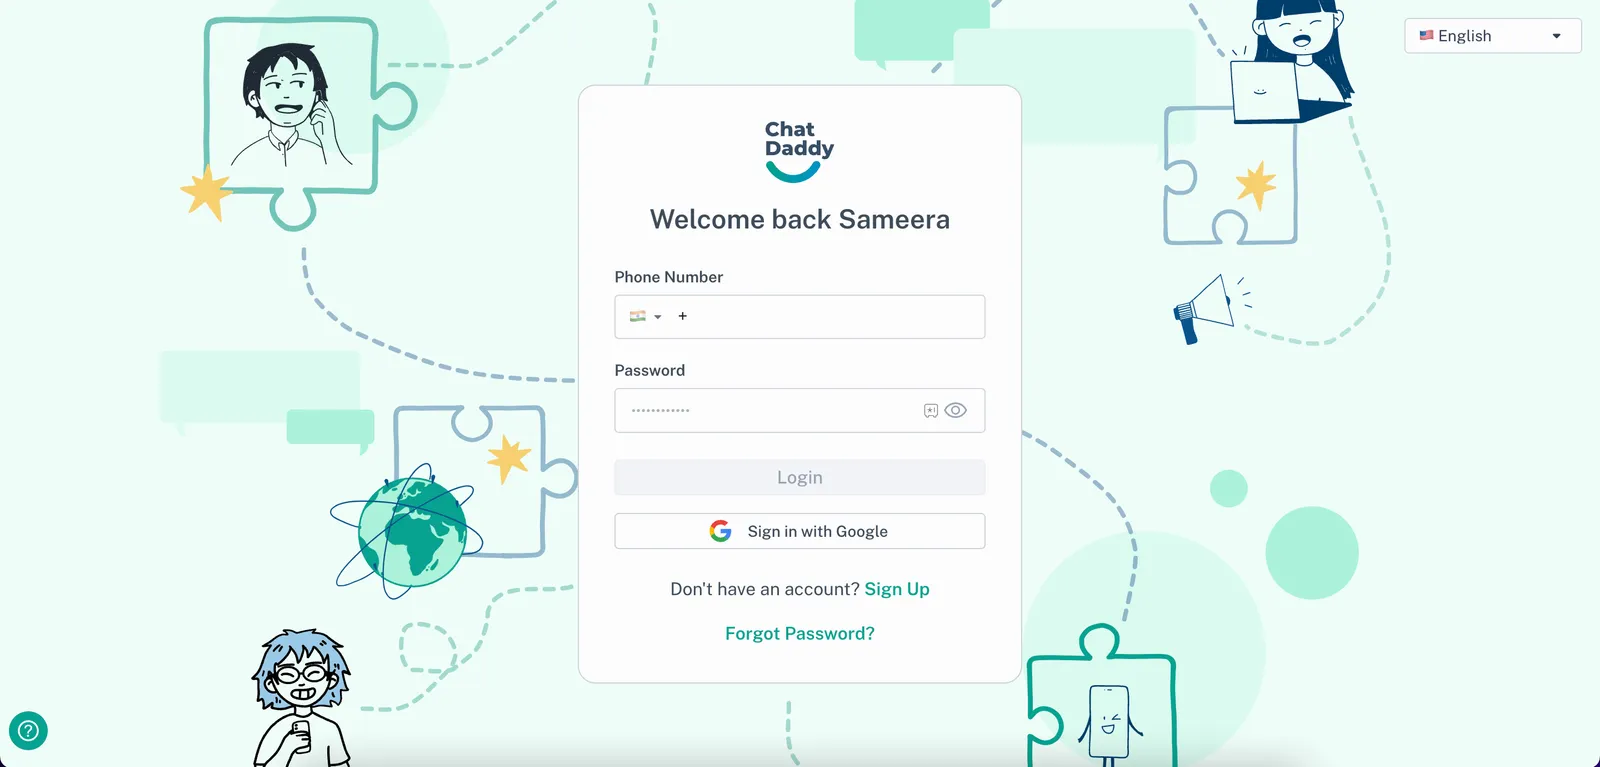
- Login to your ChatDaddy account
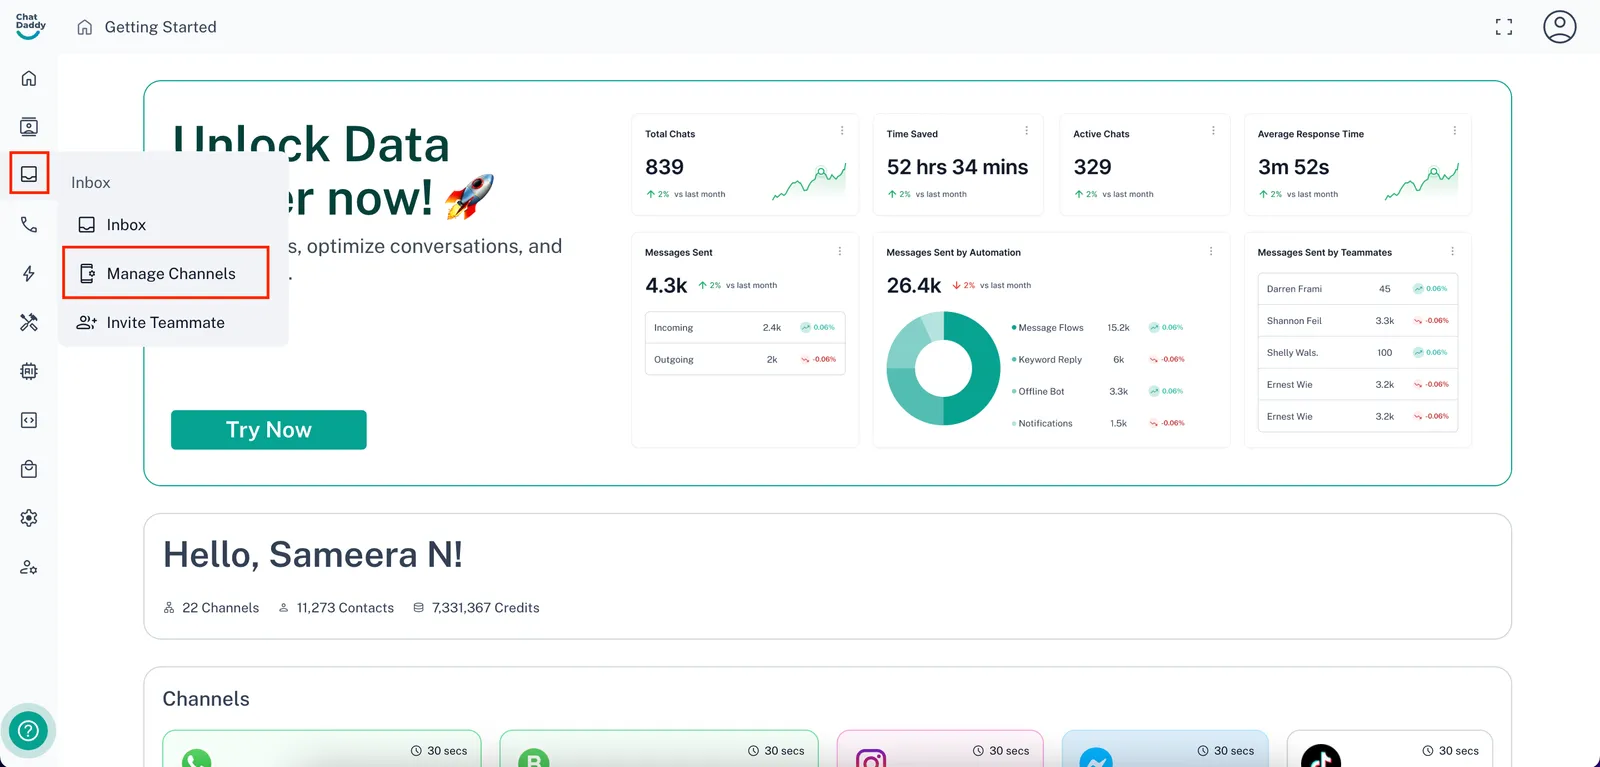
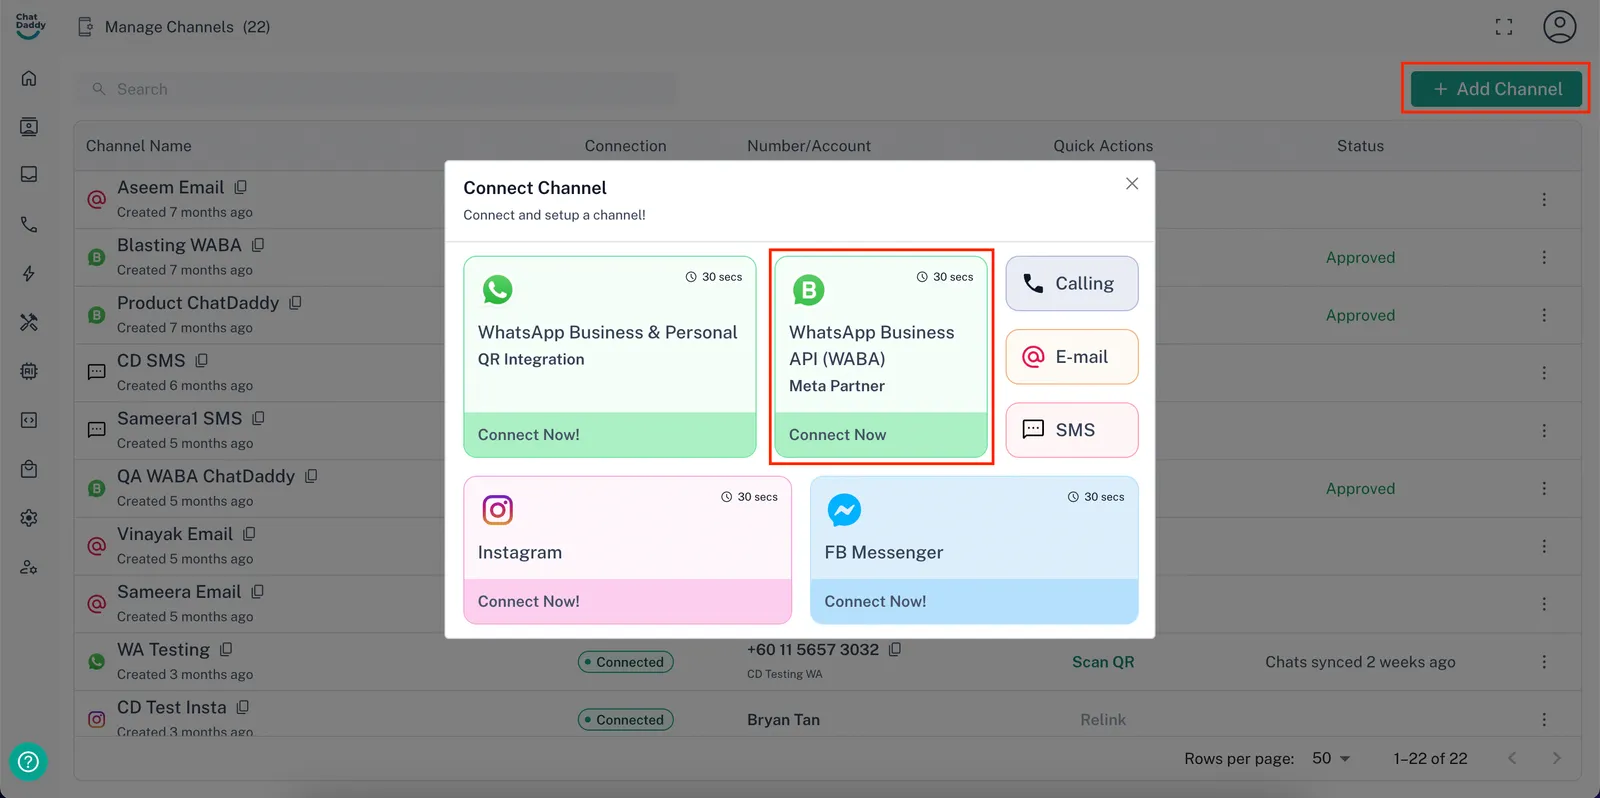
- Hover over the left-hand sidebar to find the “Inbox” section. Then, click on “Manage Channels”
- Click on the “+ Add Channel” button on the top right, then select “WhatsApp Business API(WABA)”
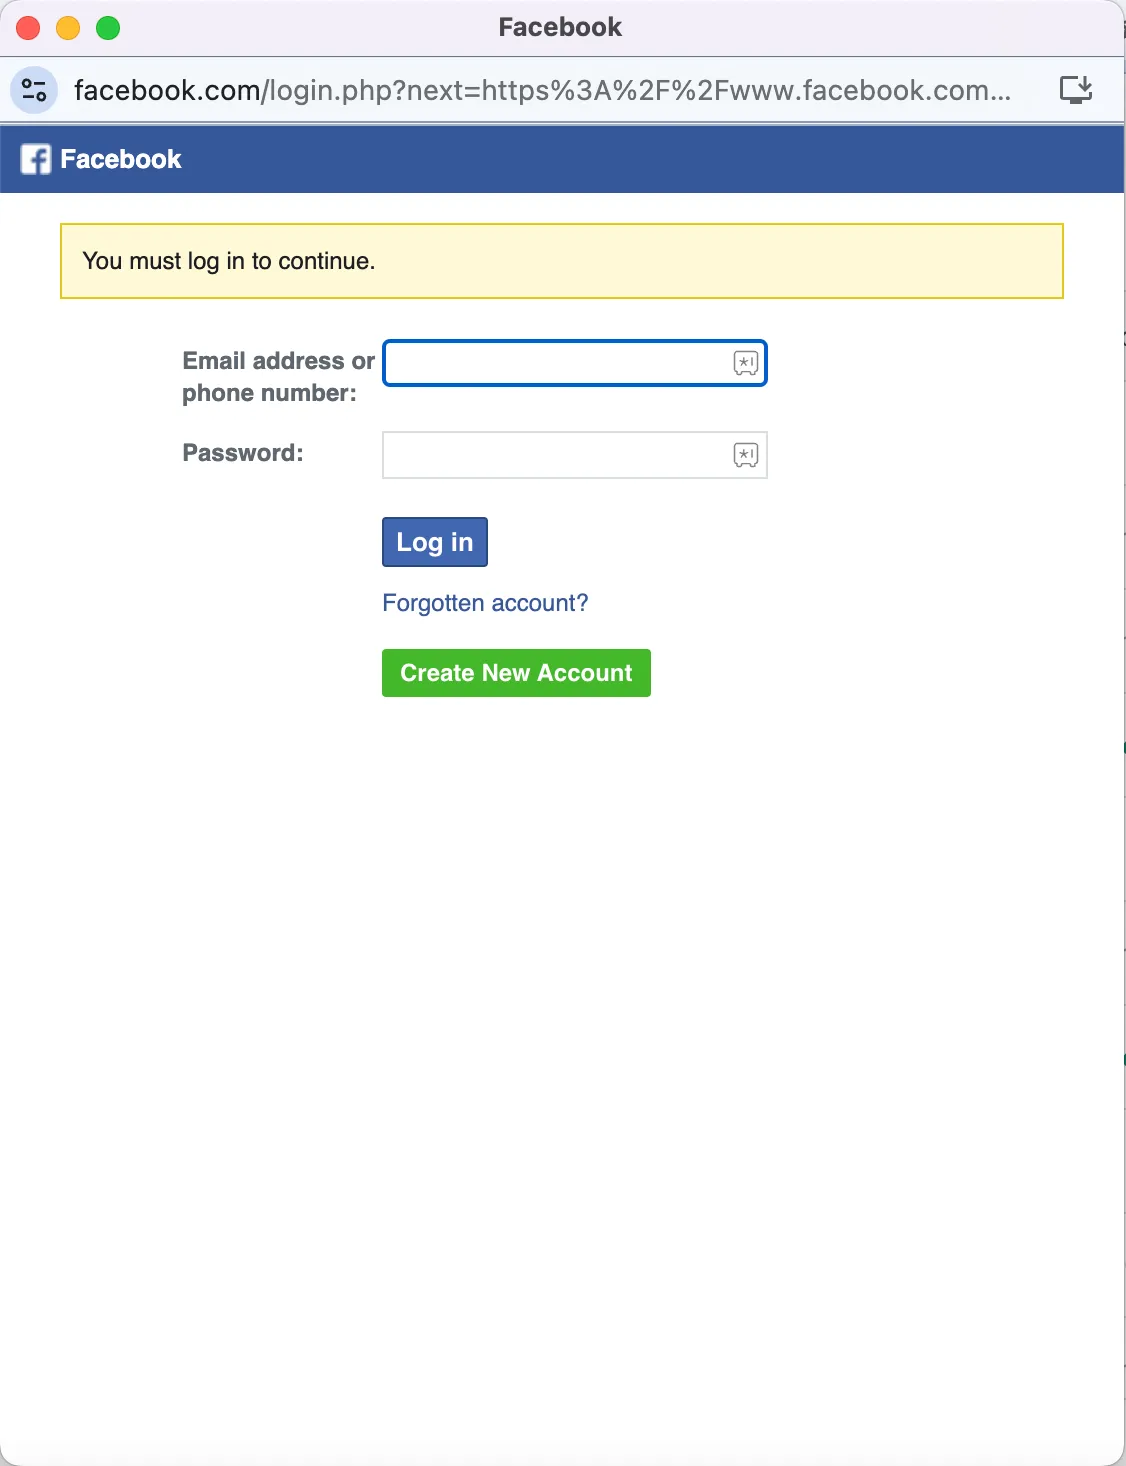
- Login to your Meta Admin Account
❗ Note: Ensure you use the account that manages access to the company’s Facebook Meta Business settings
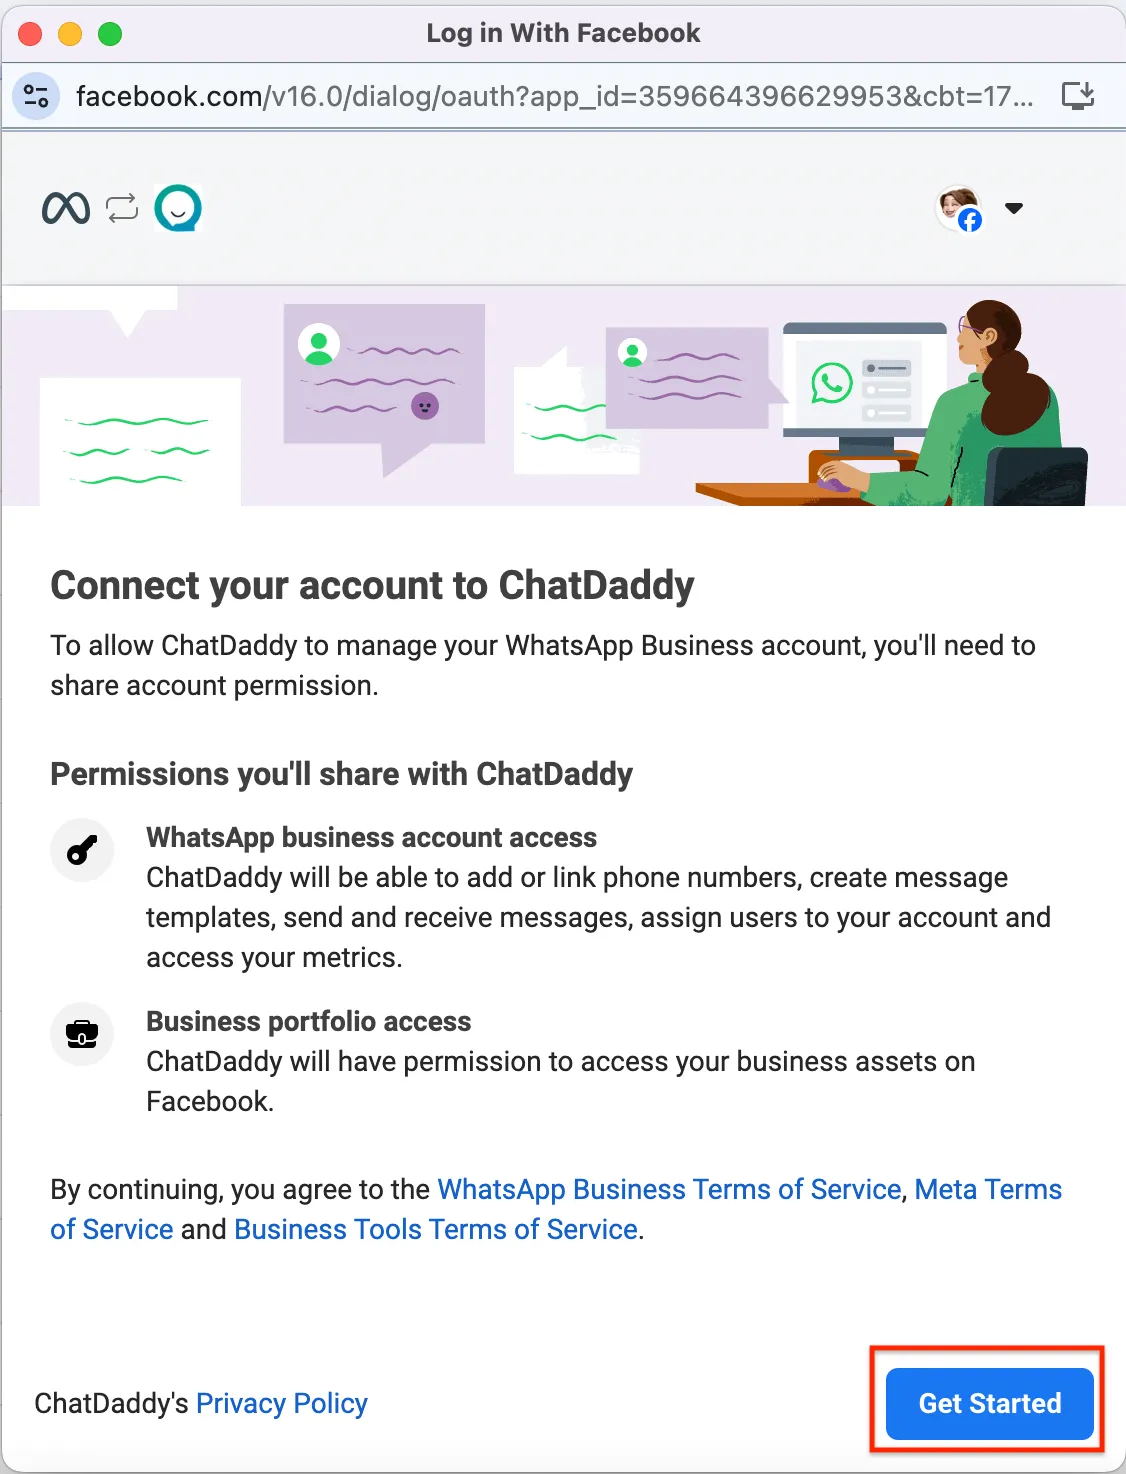
- After logging in, click Get Started
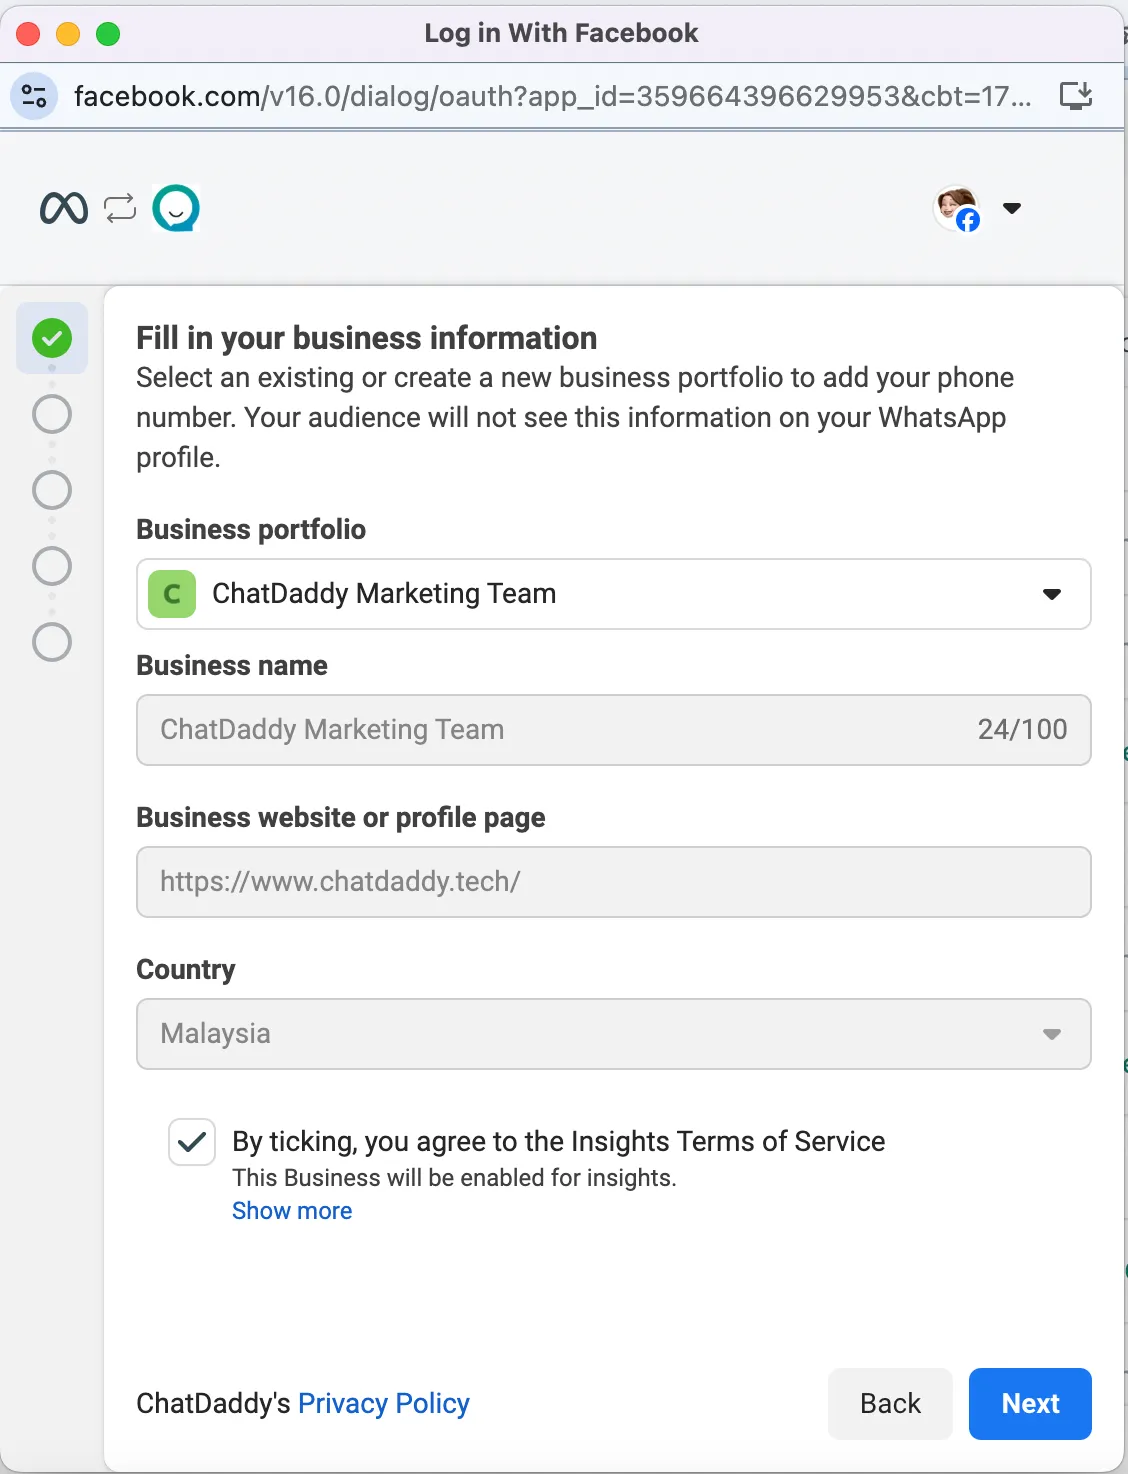
- Select your existing Meta Business Account from the “Business portfolio” dropdown and click “Next”
- Choose your WABA account and select whether you want to:
-
Create a new WhatsApp Business Account, and
-
Create a new WhatsApp Business Profile
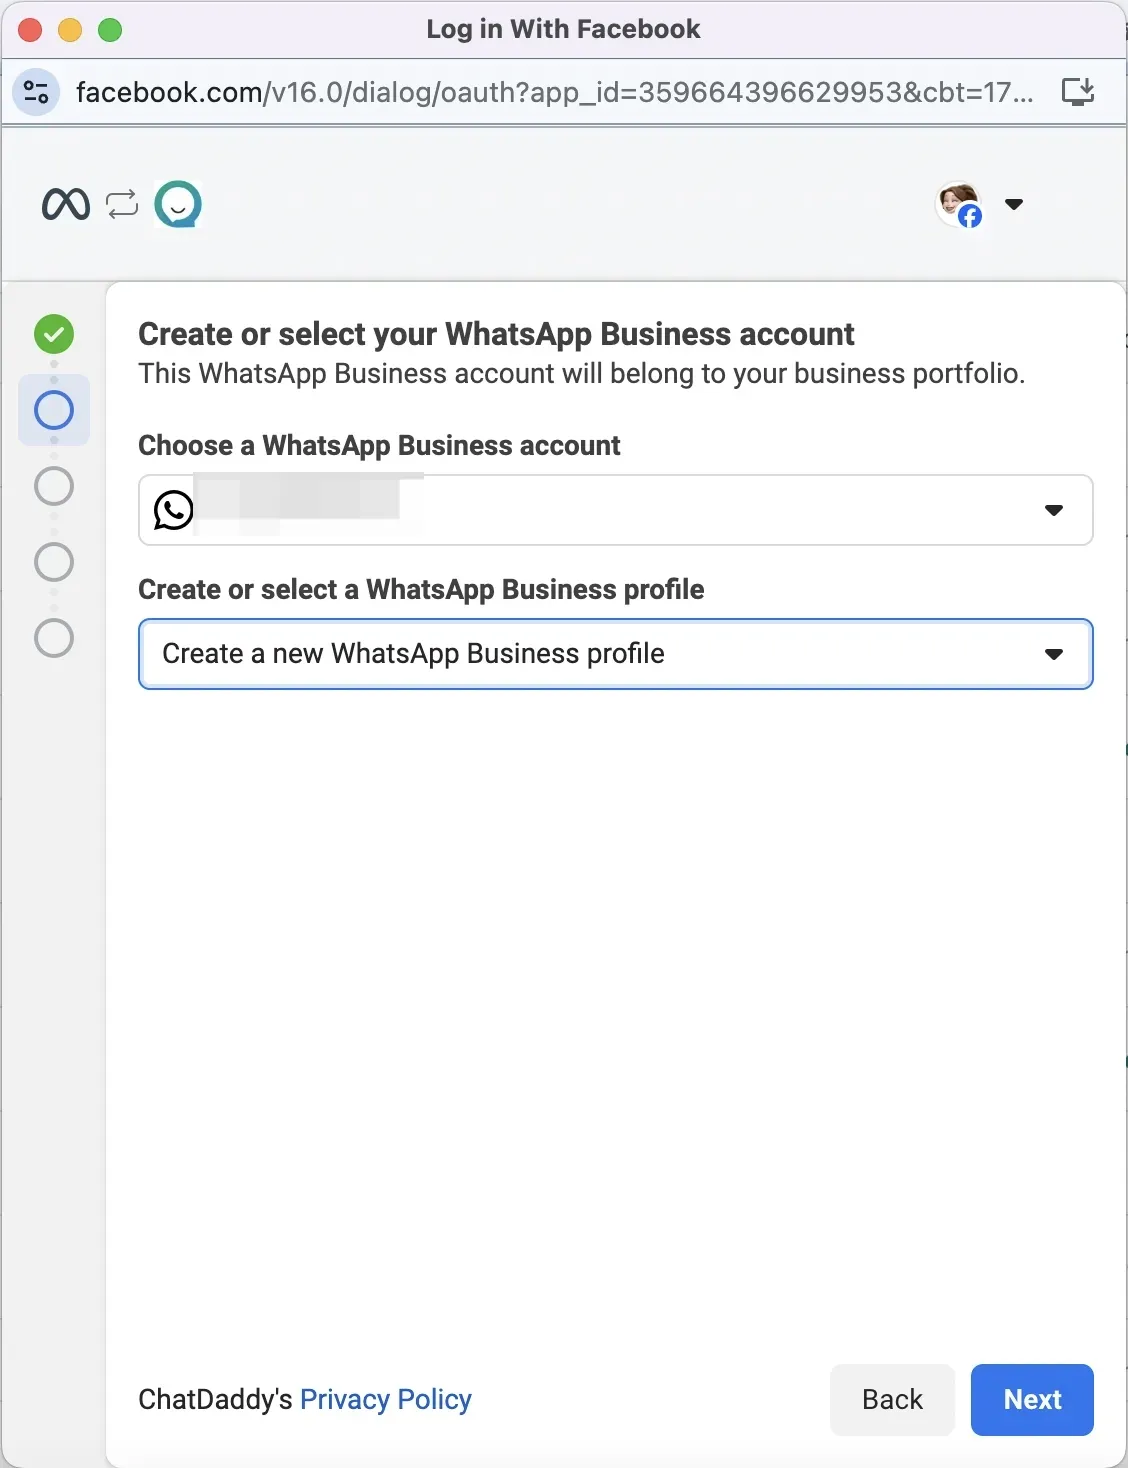
❗ Note: Note: If the number is linked to an existing WhatsApp Business app account, you must delete the account using the app, wait 3-4 minutes, and then continue. 1. Please be aware that: ▪ The number will start afresh. ▪ All chats will be lost. ▪ You won’t receive messages until the API request is approved.
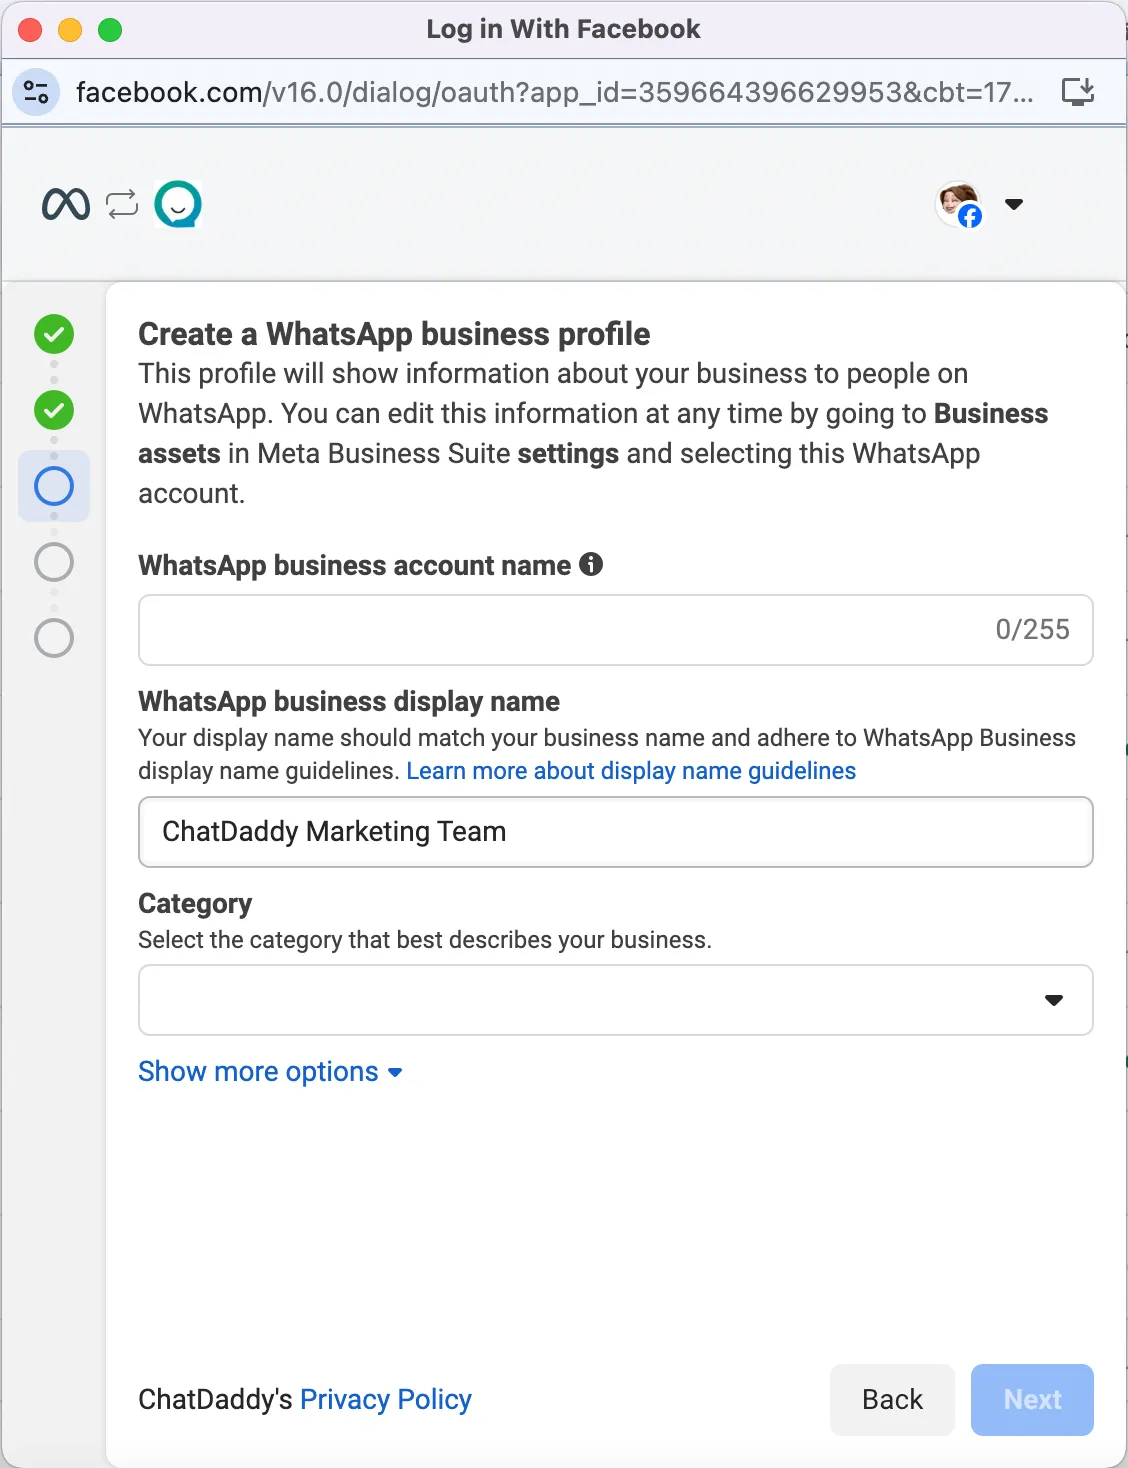
- Enter your WhatsApp business account name, display name, and category. Then, click “Next”
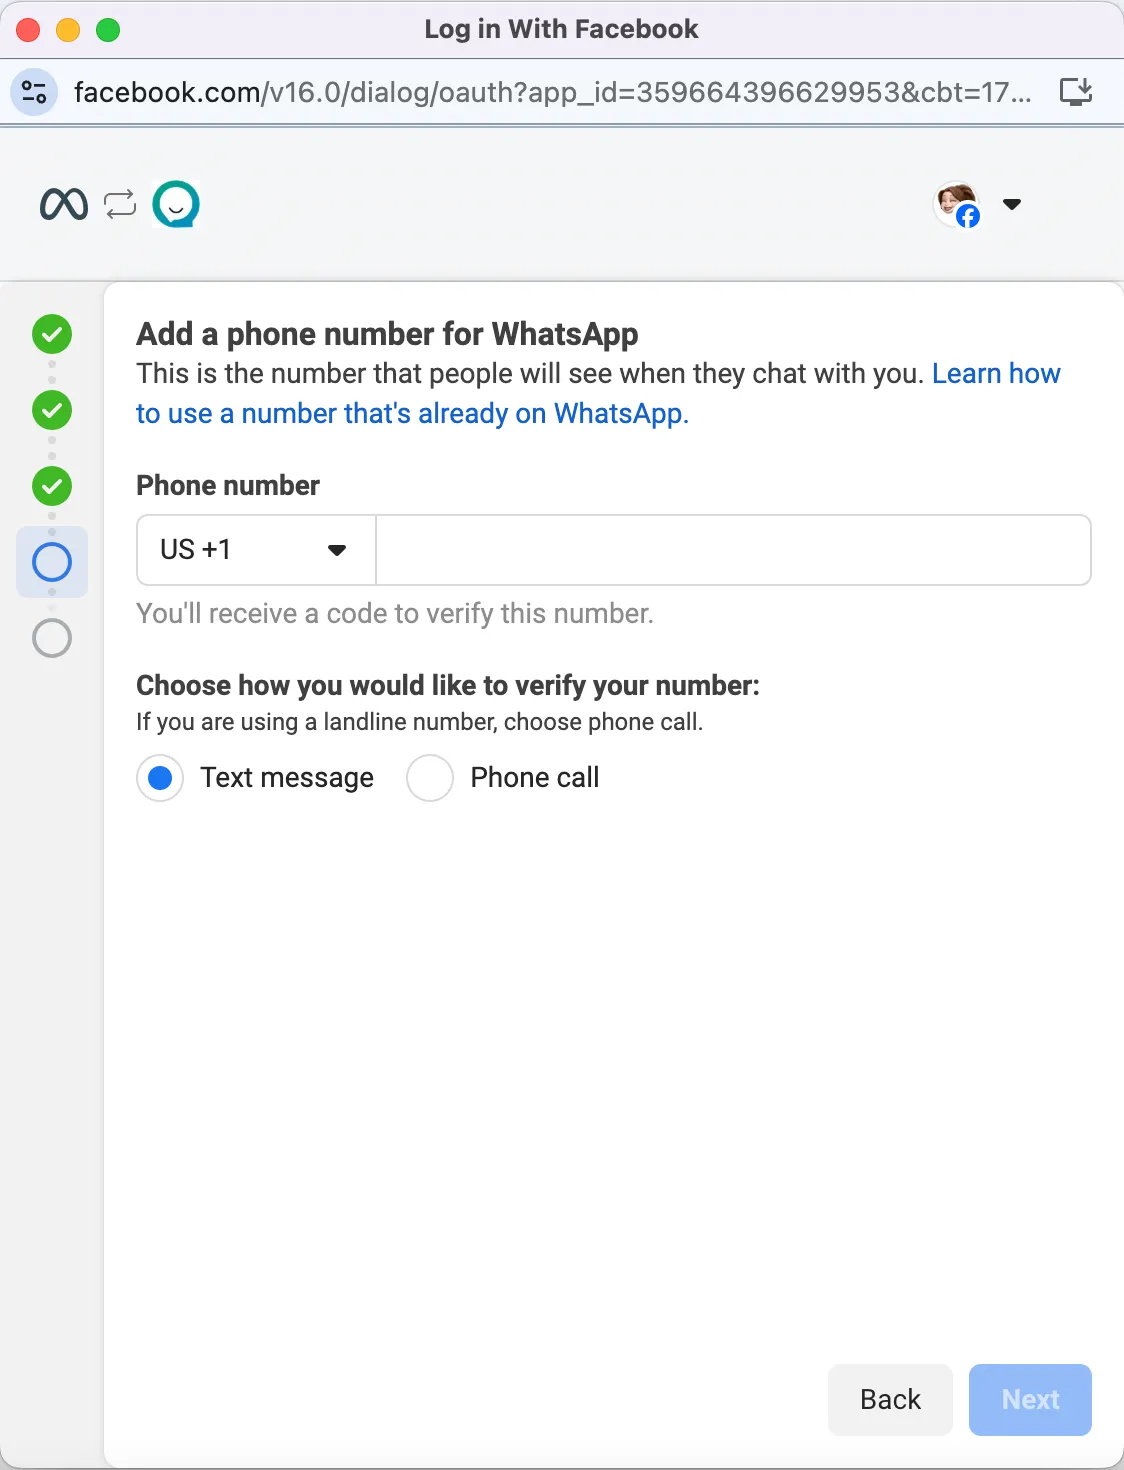
- Enter the phone number you want to use for WABA, and once you obtain the OTP via the registered phone number, enter it to complete the WABA application
- Update Payment Details:
-
After the application, ensure you add a payment method on Meta to activate the WABA channel successfully and enable messaging.
-
Please refer to this help doc for detailed steps regarding How to Set Up Payments on Facebook Business Manager.
- Check WABA Approval Status:
-
The Channel Card will display your WABA details with a Pending Approval status.
-
Click Refresh WABA Details to check the latest status.
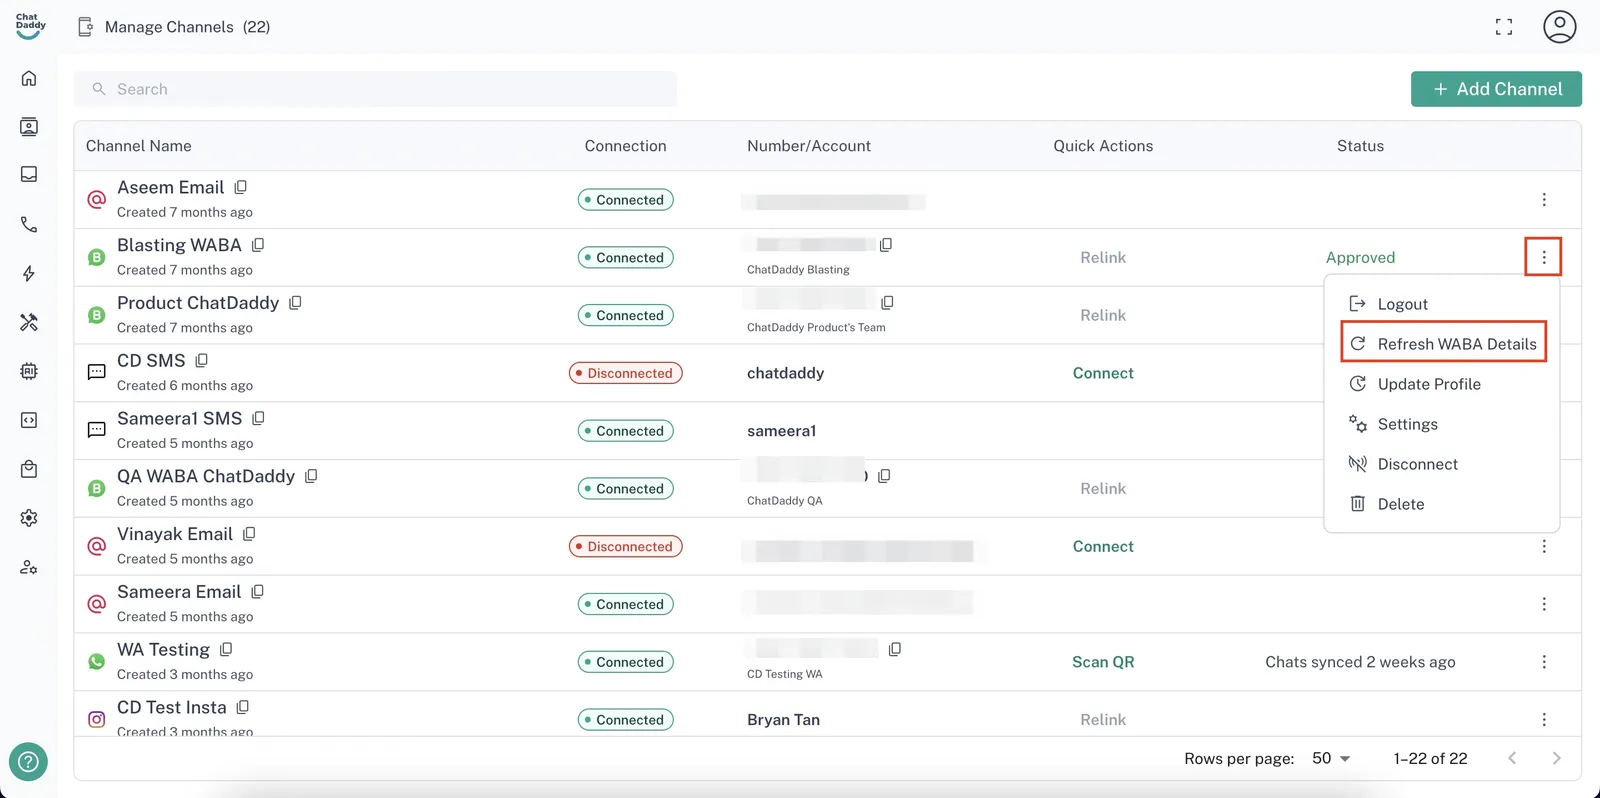
- If it says **Approved**, your WABA application has been approved.

- If it says **Rejected/Pending**, you may need to relink your Meta account with ChatDaddy. Please contact customer support by clicking here to open the WABA service.
❗ Note: Note: Approval status updates usually take 1-2 days.
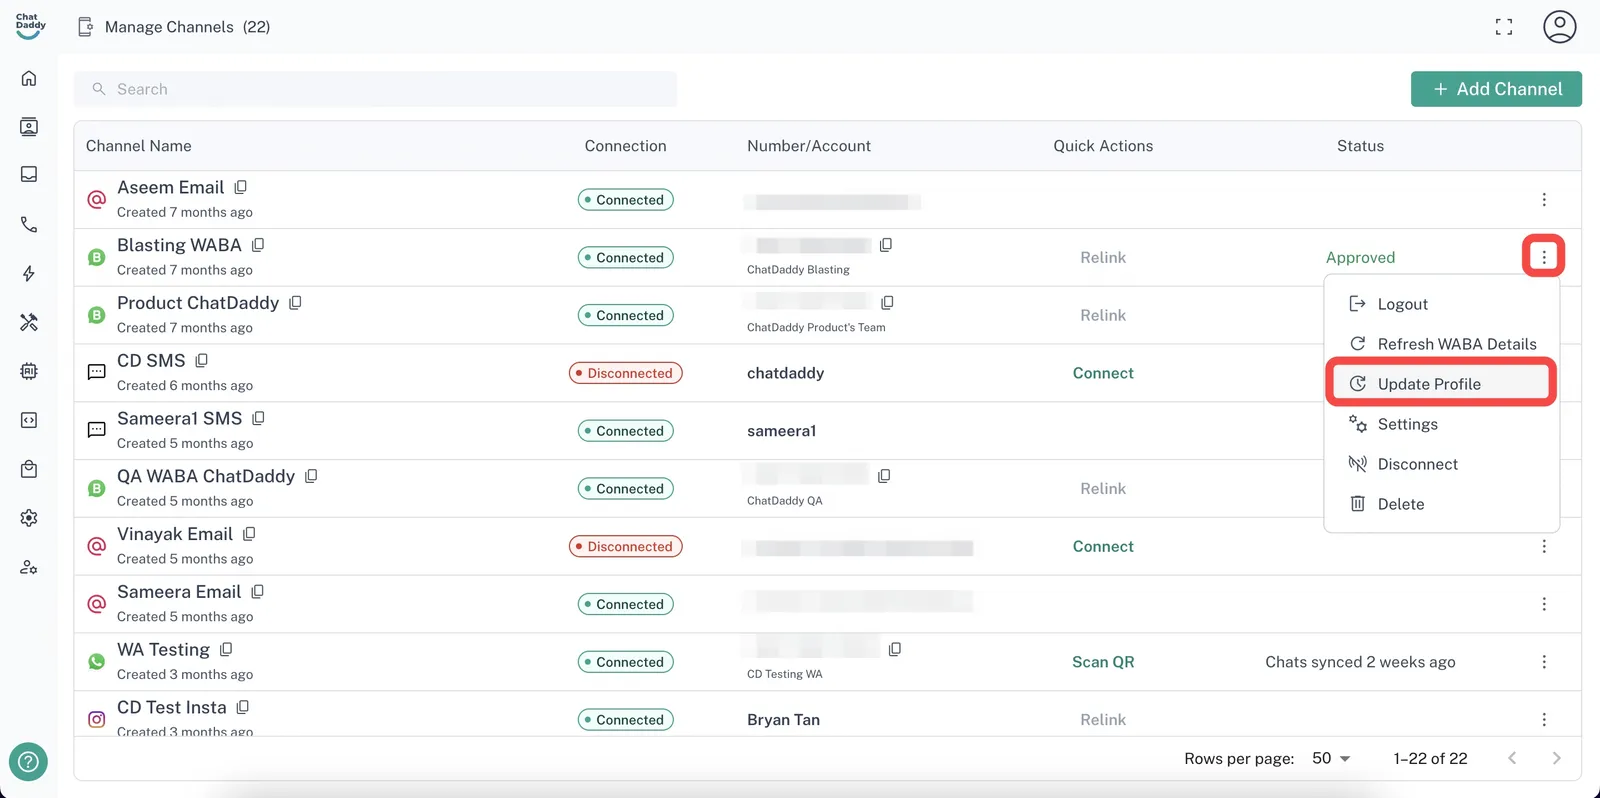
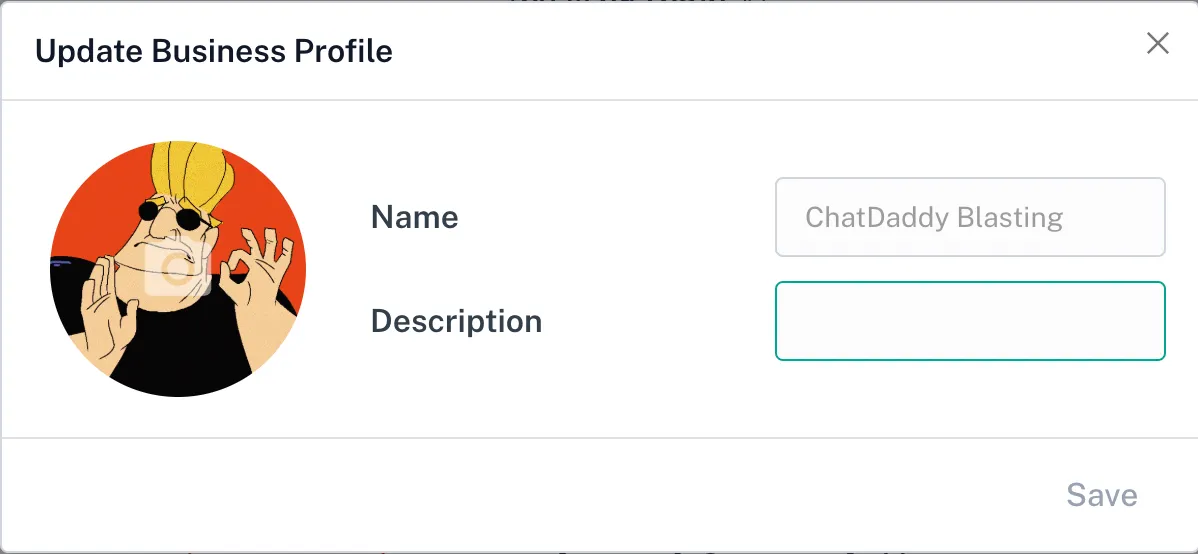
- Once approved, update your profile picture and description directly on the Channel Card under the Manage Channels page.